Garage Door Installation Guide: What to Expect Step by Step
Getting a new garage door installed? Whether your older garage door is hanging on by a rusty hinge or you’re upgrading for curb appeal and efficiency, garage door installation is a big deal. But what actually happens during the installation process?
At Third Gen Garage Doors, we believe informed customers are happy customers. Here’s your casual, informative, and slightly humorous guide to what you can expect—step by step.
Why Replace an Older Garage Door?
If your door creaks like it’s auditioning for a horror film, lets in cold air, or opens with a violent lurch, it’s time for a garage door replacement. Benefits of a new installation include:
- Better security and peace of mind
- Improved insulation and energy efficiency
- Modern curb appeal
- Increased property value
Step 1: Pre-Installation Prep
Once you’ve picked the door brand, material, and smart features, we’ll schedule a convenient time. Here’s what happens first:
- Measure twice, install once—we double-check dimensions
- Inspect your existing garage door system for compatibility
- Confirm details and give you a prep checklist
Tip: Clear at least six feet of space around the garage entrance. That includes garden tools and half-finished projects!
Step 2: Removing the Old Door
The installation team will:
- Disconnect the garage door opener
- Release spring tension (leave this to the pros)
- Safely remove each panel from top to bottom
If you’ve ever Googled “Can I remove a garage door myself?”—trust us, don’t. This is a high-tension, high-risk job.
Step 3: Hardware and Track Installation
Now comes the backbone of your garage door installation process:
- Install vertical and horizontal tracks
- Mount torsion springs or extension springs
- Add hinges, bearings, and safety cables
- Seal the frame with weatherstripping
We’ll also install any accessories like belt drive systems that reduce noise during open and close cycles.
Step 4: New Door Panel Installation
This is where your new garage door takes shape. Panels are stacked from bottom to top, secured, and aligned. Heavier doors may need added reinforcement to handle long-term use.
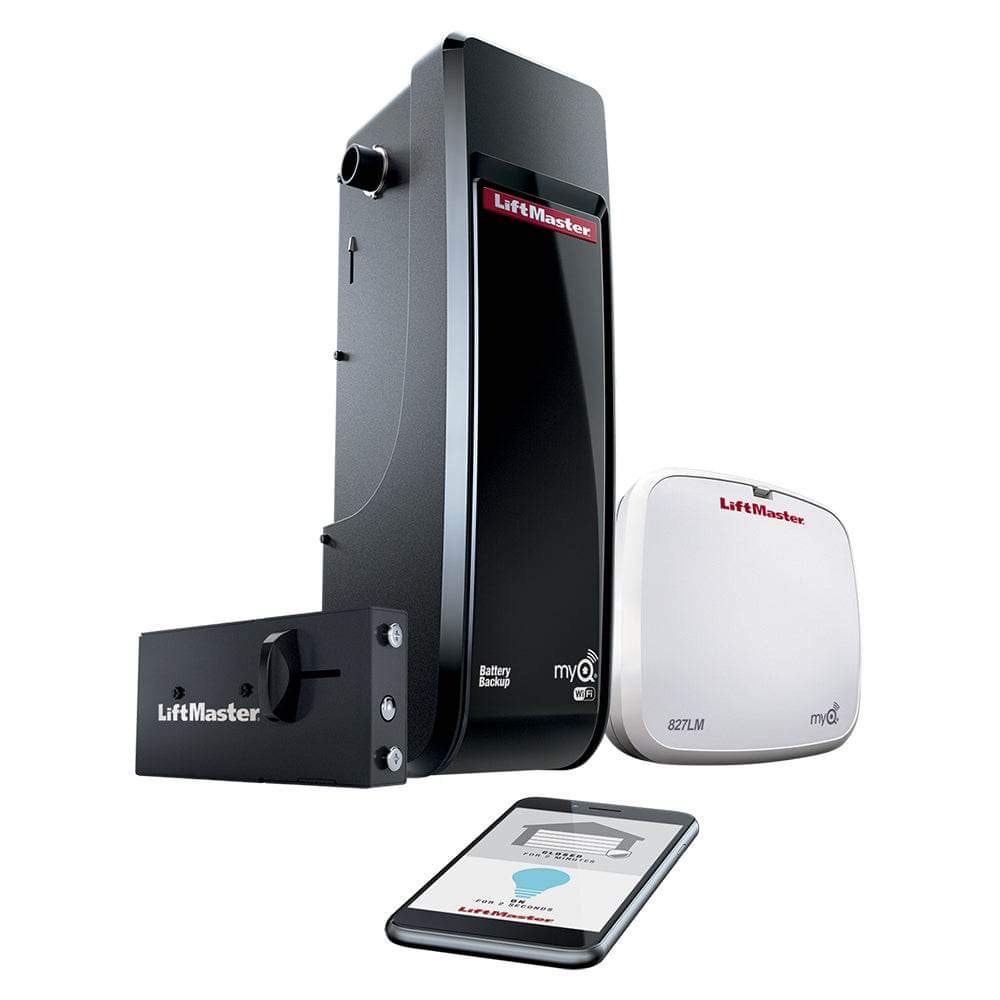
Step 5: Smart Garage Door Opener Setup
If your opener is outdated or incompatible, we’ll install a new smart garage door opener with:
- Wi-Fi and smart controls
- Wall-mounted push button
- Remote and app setup
Modern openers are quiet, reliable, and packed with safety features like auto-reverse and obstruction sensors.
Step 6: Final Testing and Safety Features
Before we pack up, we run performance checks:
- Open and close speed and balance
- Sensor alignment
- Spring tension and safety cables
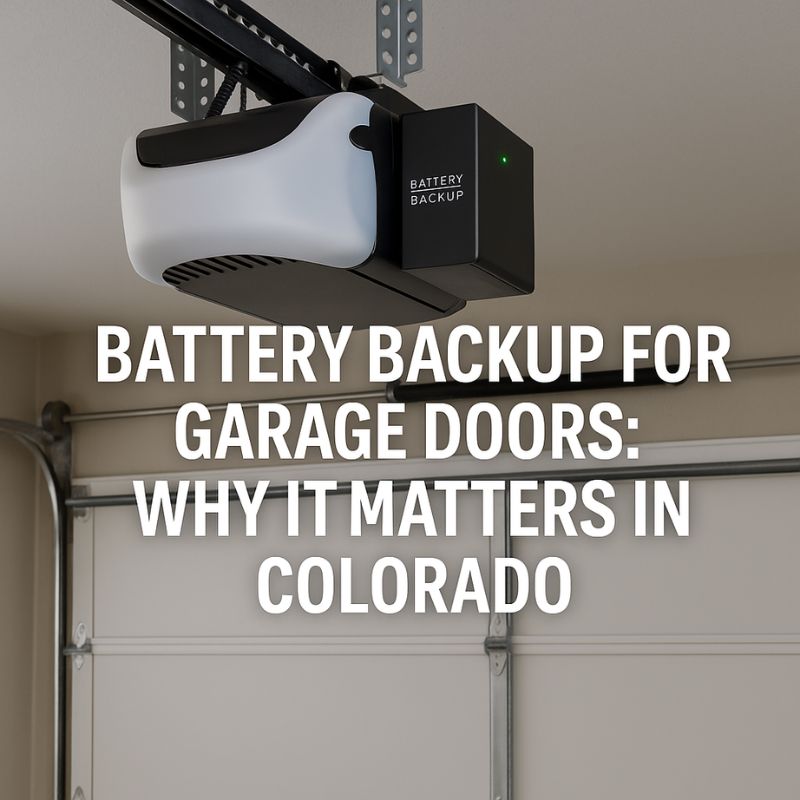
- Auto-reverse and backup battery (if applicable)
We’ll also show you how everything works and answer any questions you have.
Step 7: Cleanup and Customer Service
We haul away your old garage door and packaging materials, sweep the work area, and leave your garage cleaner than we found it. Need future service? Just call us—we’re known for top-tier customer service.
FAQs About Garage Door Installation
How long does it take?
Most installations take 3–6 hours, depending on door size and complexity.
Do I need a new opener?
If your existing opener is older than 10 years or not compatible with modern safety features, a new one is recommended.
Which door is best for Colorado?
Insulated steel or composite garage doors hold up best against Colorado’s weather swings and reduce energy loss.
Final Thoughts
A garage door installation might sound complex, but with the right garage door installer near you (hi, that’s us), the process is smooth and stress-free. From choosing the right door to making sure every safety feature works perfectly, Third Gen Garage Doors gets it done right.
📞 Call us at (720) 697-0418 or email us to get started with your new garage door installation today!
If you need an EV charger installed, contact GO EV Colorado. The can get you in touch with qualified electricians in the Denver metro area.